Lesson 5: Working with Images (Making it Visual)
We are moving into Phase 2! Your website is currently full of text, but the modern web is visual. In this lesson, we’ll learn how to add images.
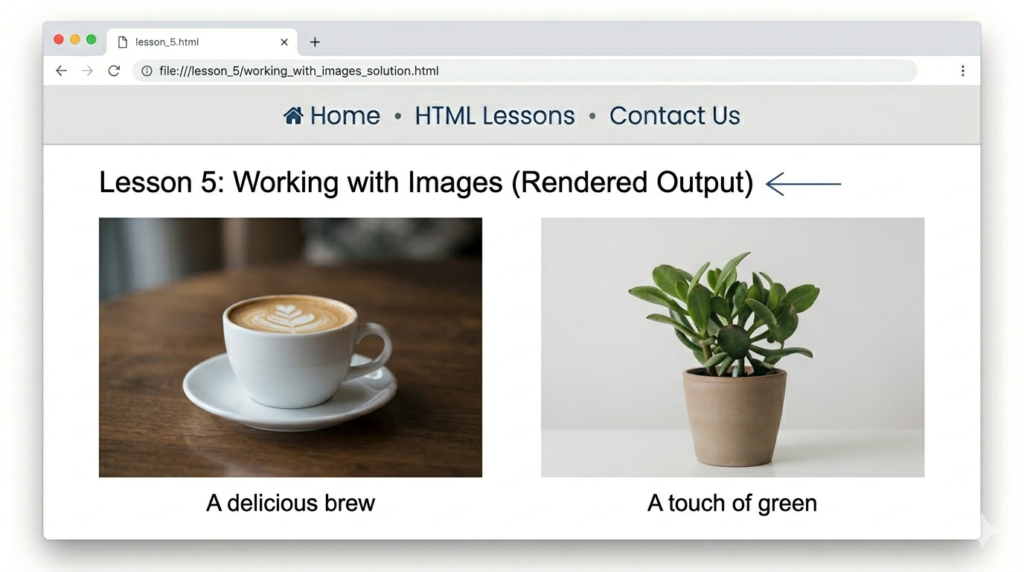
A picture is worth a thousand lines of code! In HTML, we use the <img> tag to display images. Unlike the tags we’ve learned so far, the image tag is “Self-Closing”—it doesn’t need a </img> at the end.
1. The Anatomy of an Image Tag
To show an image, you need two essential attributes:
1. src (Source): The path to your image file (URL or local folder).
2. alt (Alternative Text): A description of the image for Google and for people who use screen readers.
The Code:
<img src="logo.png" alt="Coding Learners Official Logo">2. Best Practices for Images
Always Use Alt Text
If your image fails to load (due to a slow connection), the alt text will appear instead. More importantly, Google uses Alt text to rank your site in Image Search. * Bad: alt="image1"
- Good:
alt="PHP code showing a database connection"
Controlling the Size
You can control how big an image appears directly in HTML using width and height (though we usually do this in CSS later).
The code:
<img src="coding-banner.jpg" alt="Person coding on a laptop" width="600" height="400">3. Images as Links
One of the coolest things you can do is turn an image into a clickable button. You do this by “nesting” the <img> tag inside an <a> tag.
The Code:
<a href="https://codinglearners.com">
    <img src="home-button.png" alt="Go to Home Page">
</a>4. Image Formats for Web
When building your site, choose the right file type:
- JPG: Best for photos (small file size).
- PNG: Best for screenshots and logos (supports transparency).
- SVG: Best for icons and illustrations (stays sharp at any size).
- WebP: The modern standard (super fast loading, Google loves this!).
🛠️ Practice Task: Add a Profile Picture
- Find a small image on your computer or a link to one online.
- Add a “Meet the Teacher” section to your
index.htmlfile. - Use an
<img>tag to show your photo. - Add an
altattribute that says “Photo of the Coding Learners founder.”
<section>
    <h2>Meet the Instructor</h2>
    <img src="your-photo.jpg" alt="Founder of Coding Learners" width="150">
    <p>Hi! I'm a PHP developer building this site to help you learn.</p>
</section>The <section> tag defines a section in a document.

2 Responses
[…] Previous Next […]
[…] Previous Next […]